
Over the past 2 weeks, I’ve been wanting to use my leftover beige waffle knit that I purchased and used years ago. However, because there was less than a yard and it’s somewhat transparent, I wasn’t sure what I could do. This past weekend, I decided to just push myself to do something, so I dyed the fabric. The original beige color tends to wash me out, and in my own opinion and preference, I don’t think it suits me.
When I read the instructions for the dye, I wasn’t too sure what type of fabric I had so I knew that it wouldn’t come out the actual color – Cherry Red. Once I finished dyeing the fabric, it turned out to be more pink than red, which is how I found out I love the color.
When spring and summer roll around, I cannot stop myself from making, thinking, or dreaming of dresses; so that is what I decided I wanted to do with this fabric. The color change made no difference when it came to how transparent it would be, so I knew I would have to double the fabric which adds to the complications, but if you are reading this then you know it works out!
So if you have 1-1.5 yards of knit fabric in your stash and don’t know what to make of it, here’s what you need to make an easy 3-hour dress.
Key Measurements:
- Waist Measurement (divide by 4)
- Hip Measurement (divide by 4)
- Waist to Hip Measurement
Pattern Drafting
With your front / back bodice block, trace to a new piece of paper with plenty of space to add length and width. Make sure that you mark your waistline.
Bodice Block
A pattern that resembles the shape & size of the body and is used as a base for pattern making. If you don’t have a block available, you can trace a sleeveless shirt that fits you the closest and then make adjustments and testers to achieve the best fit.

From your waist-line measure down to your hip-line and draw your hip measurement. Connect the waist to the hip and round the waist out with a curved/hip ruler or by hand.
Lastly extend your hip line outward; because I did not know how much fabric I had available I extended the line 7 inches, to where I would be comfortable, but you can go shorter or longer either way you can adjust when you get to cutting.
Want a drafting challenge?
If you are wanting to make a bodycon dress that is essentially a well fitted dress, determine the percentage of stretch from your chosen fabric. You can do this by stretching 10 inches of fabric against a ruler/measuring tape, until its max stretch or less (start at 10 and then stretch). Every number represents 10%, so if the fabric reaches 14 then it has a stretch of 40%. Once you determine this number, you can reduce your pattern by said percentage to achieve the look.
Take all your horizontal measurements and multiply them by the remaining percentage (if your fabric stretches 40% than the remaining is 60%). 37 x .60 = 21.6
Now those new measurements become your pattern measurement, which will guarantee a fitted knit dress. If you plan on using the max stretch, make sure to leave 10% of stretchability, so you can slide the dress on, if not you might need to add a zipper, and seam allowance to your final pattern.
If you need a visual demonstrations checkout this video on instagram: Stretch Factor
Once you follow the same steps for the back bodice, here is where you have creative freedom. You can change the neck styles (low, v, square, turtle neck), as well as shoulders (wide, narrow, ties) the possibilities are as endless as your creativity.
Lastly, DO NOT add seam allowance; because we are using a knit fabric, there is enough stretch so we do not need extra fabric.
cut the fabric
Because I had such little amount to work with and needed double the layers, I just jigsawed myself throughout. I first cut one layer of the front and back to see how much I would have left, and then I cut the second layer of the front. When cutting the second layer, I realized I would not have enough fabric for a full second back piece. After much deliberation, I decided I didn’t need the full back layer just needed the bottom half of the patter to protect my butt and this was a fabric saver. I cut the back layer, starting at my waist so it would be easier to know where to join when sewing.
Sewing Time
Read through the steps before attempting to sew; there are many methods that achieve different looks.
When sewing, make sure to use a zig zag stitch or what looks to be a “lighting” stitch. This will ensure that the thread stretches with the fabric and won’t break as it would with a regular stitch.
Sewing Methods:
- (one layer) Take your front and back pieces, right sides together and sew at the shoulder and down the side seams. Depending on how much your fabric stretches, and how fitted or loose you want the dress, I recommend you start at 1/4 inch seam and once you try it on you can continue sewing in the dress till you reach your desired fit.
- (two layers)Take both back pieces and sew them together at 1/4 inch at the shoulder and side seams. Do the same with the front pieces. If your fabric has a wrong and right side, make sure to sew the pieces wrong sides together. Once sewn, join the front and back pieces (wrong sides together) and sew the shoulders, and side seams down.
- You can try the Burrito Method. This method will enclose all of the raw seams in between the layer and give you a flawless finish. Check out this video for further instructions: How to sew a lining using the burrito method
- (personal method) Since the inside back was cut from the waist down, I sewed the outer layers (Front & Back) at the shoulders and side seams. The inner layer was sewn only at the side seams. I then turned both pieces inside-out and placed the fronts on top of each other, then sewed at the shoulders and side seams through all 4 layers. Lastly I turned the piece right-side out and wallah the dress is done, with the side seams sealed.
Note
If you add a lot of seam allowance (depending on how fitted you want the dress), the armscye (hole for your arm) will start getting smaller. To fix this you just need to measure how much lower you want the opening to be and cut it.
Knit fabric will not fray, so you don’t need to finish your seams which i’m glad because I like the unfinished look of seams on this dress. If you do want to finish your seams, you can use a serger or fold the fabric over and sew it with a zig zag stitch. There are other methods out in the world for you to experiment with, these are just the only ones I know of and have tried over the years!
Lastly – make sure to give your garment a good press!
Once I tried the dress on, it felt a little too short, and with scraps left over, I pieced and sewed a 2-3 inch hem.
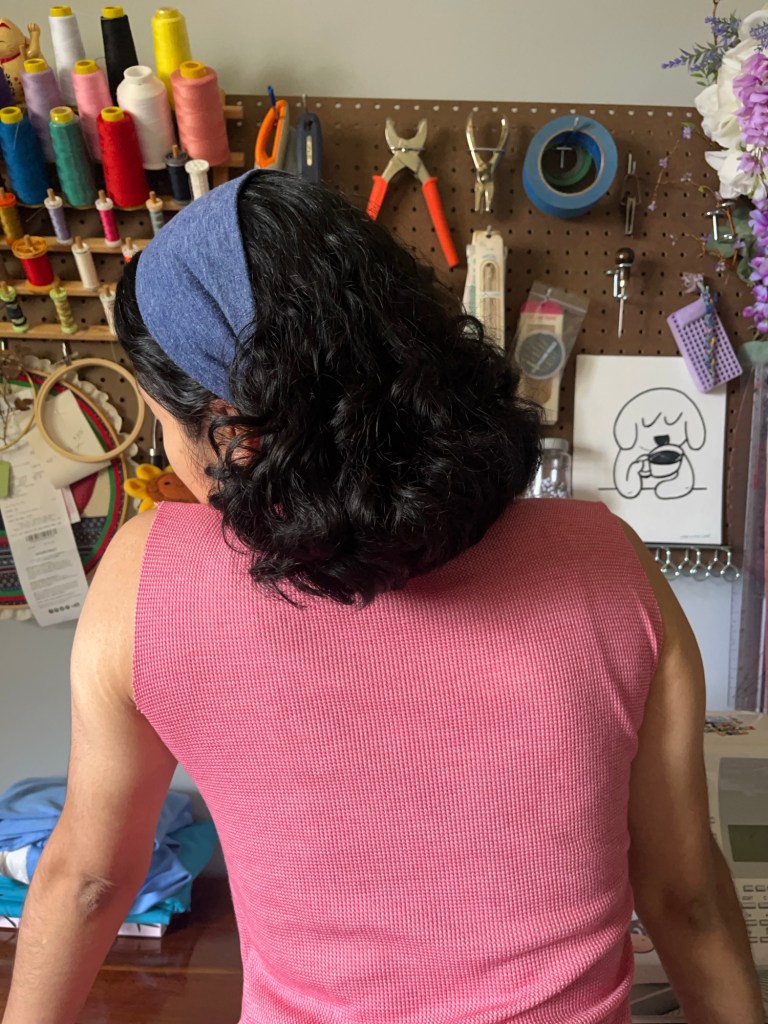
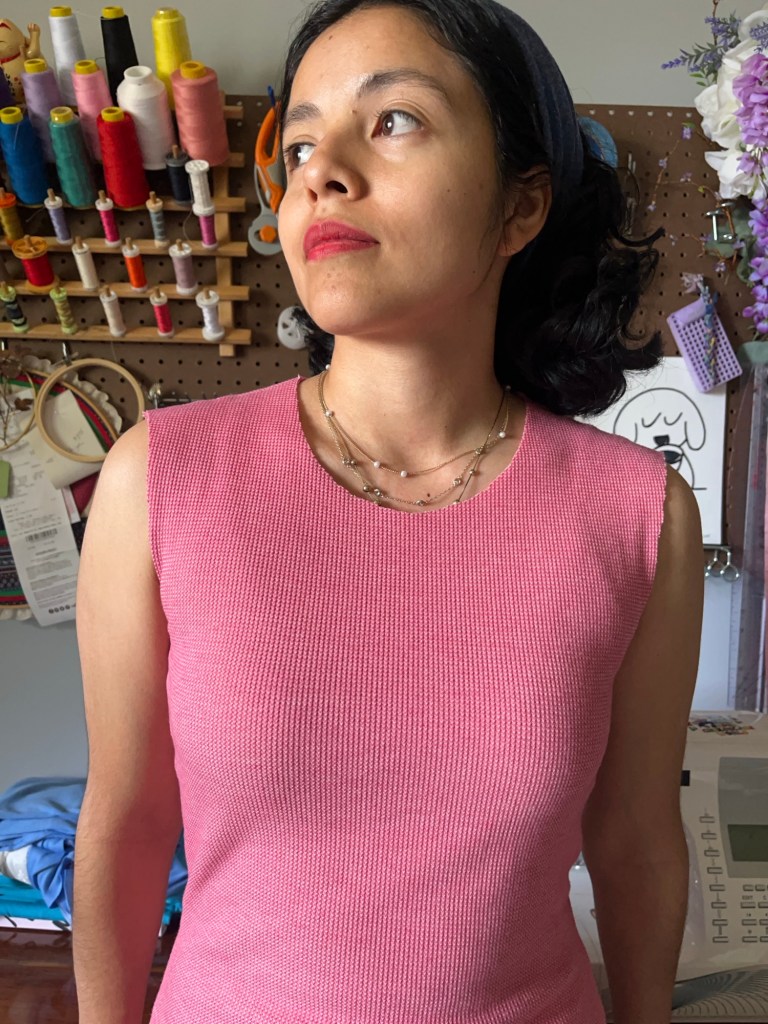
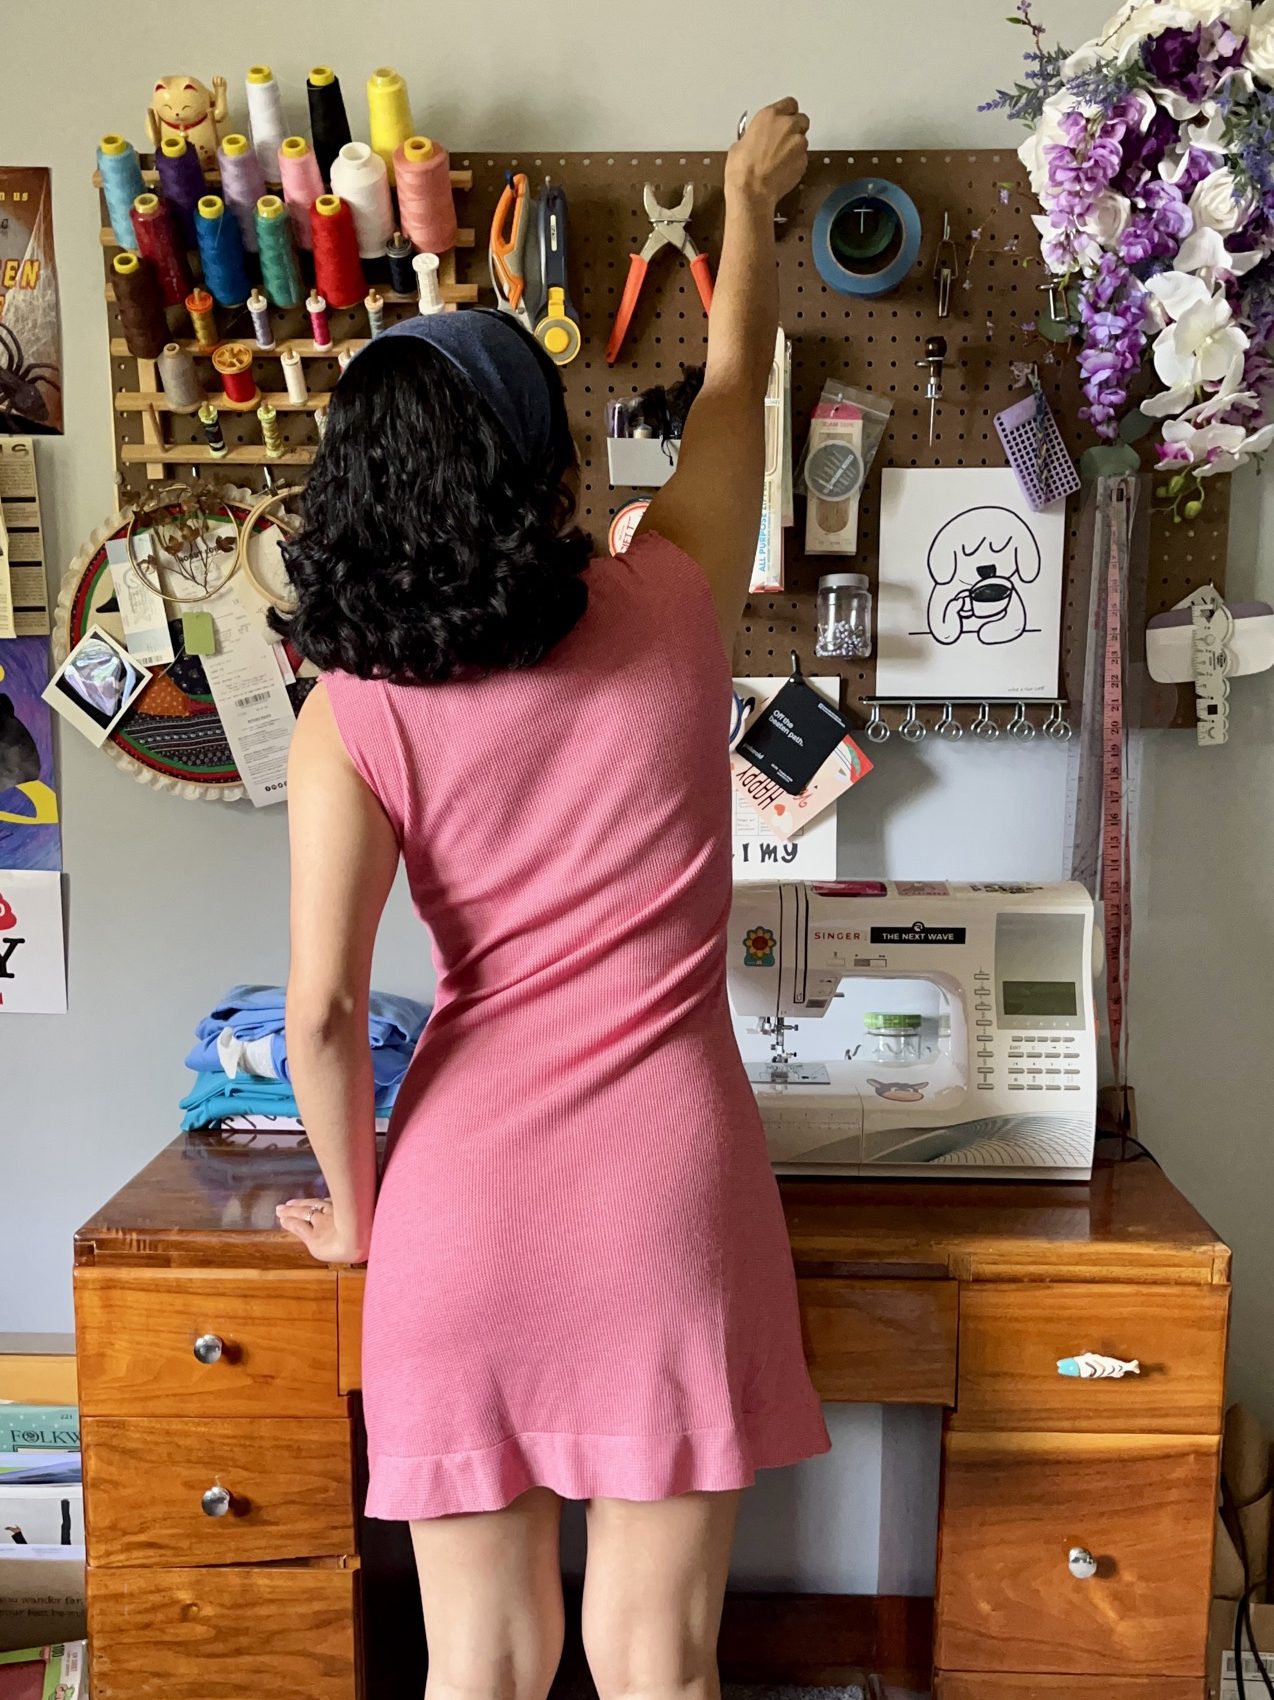
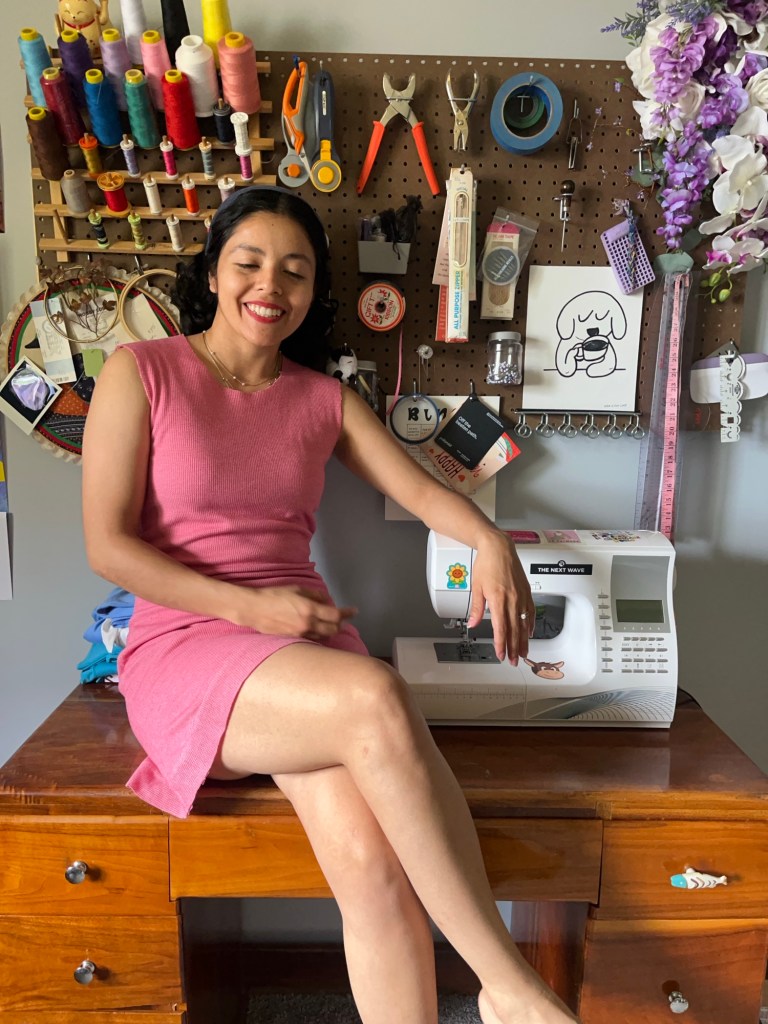
Final Looks:

Final Thoughts:
This project gave me my first experience in dyeing fabric, and I’ve got to say I enjoyed seeing a fabric get a new chance at “life.” I also had to overcome my fear of messing up, especially when there wasn’t enough fabric for my original plan. At the beginning of the project, I spent some time trying to calculate and visualize how all of my pieces would come together and if there would be enough fabric. It got to a point where nothing was looking possible, and I decided to just start cutting, and if I couldn’t cut all of the pieces, then I would just need to pivot and make something else out of the process. This sounds easy to just go with the flow, but through every step, I had to continue fighting my urge to try and calculate it and have it all perfectly planned out. I am so proud of the final result, and this deserves a 5/5 pickles!!!
What do you think?

Leave a comment