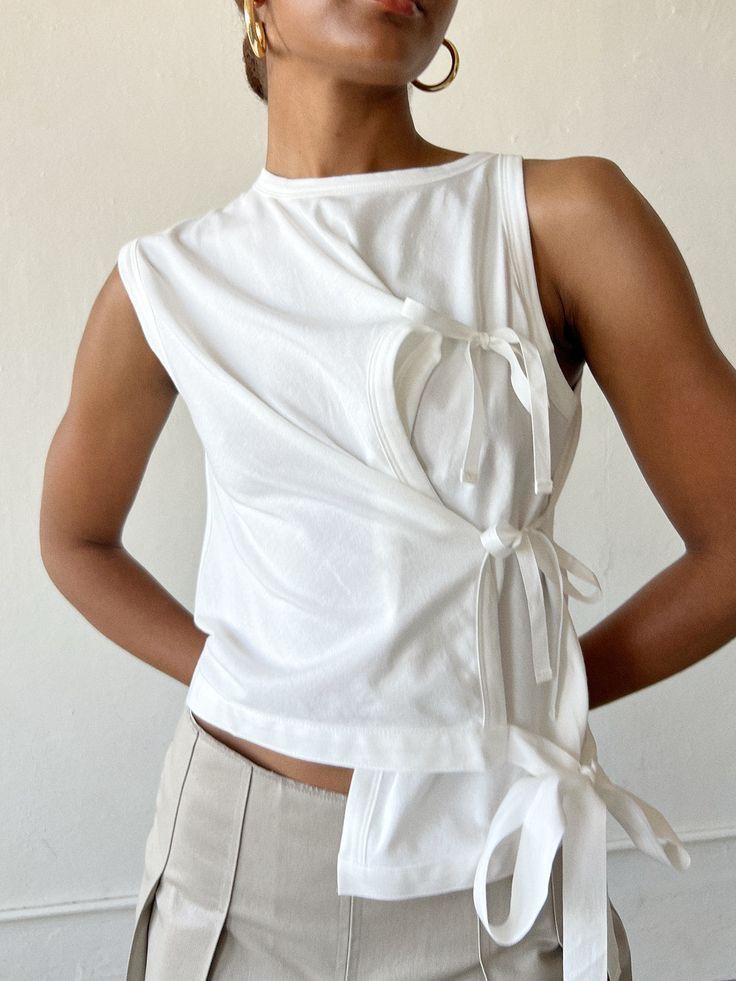
For a while I have been seeing versions of the GANNI top floating around on instagram and all the talented sewist creating their own versions. I had previously created a side tie top version myself but i tend to struggle with fabric rubbing against me on certain areas of my body, like under my arms, and I found it difficult to tie.
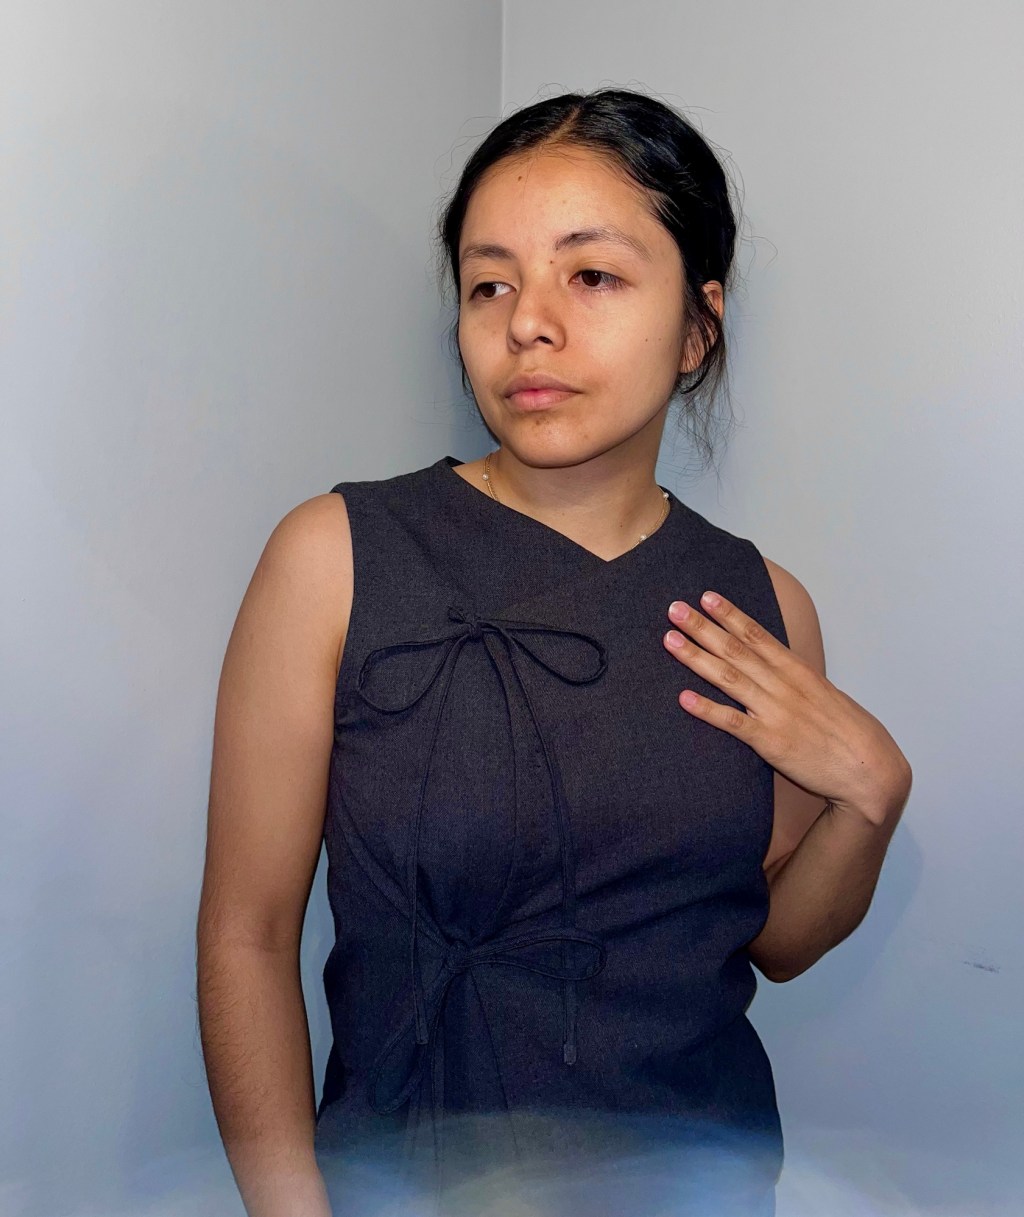
Recently I stumbled upon a beautiful light wool fabric at my local thrift store, and I initially wanted to make a pair of casual pants but found that 1.5 yards of fabric isn’t sufficient when you need to place the pattern pieces at a certain angle. Once I accepted the fact it would not work, I found an idea on pinterest for a different tie top version, in my view somewhat resembling a cheongsam dress and I just knew I wanted to recreate it.


I began by updating my previous self-drafted pattern and lengthening the bottom by 4 inches, and sloping and extending the front piece by 3 inches. To ensure that the adjustments I had created would work, I decided to create a twill and because I had run out of muslin fabric or any kind of testing fabric, I chose to use a light white cotton fabric with red bird prints. I bought this fabric about 2/3 years ago from an online thrift shop (not sure which one) and because I had only bought 1 yard, I never knew what to do with it, until now!
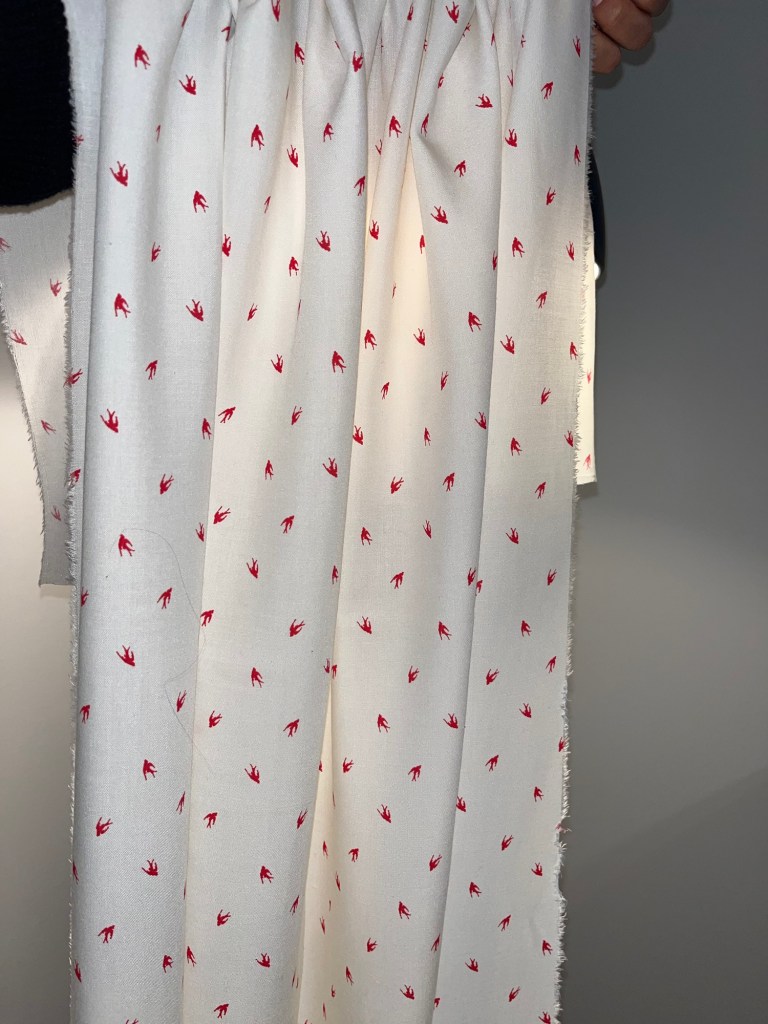
Since the fabric is very light and white, it’s definitely “transparent” so I cut 4 pieces for the front and just 1 for the back because there wasn’t enough fabric left over, but my final fabric is much denser so this would not be an issue.
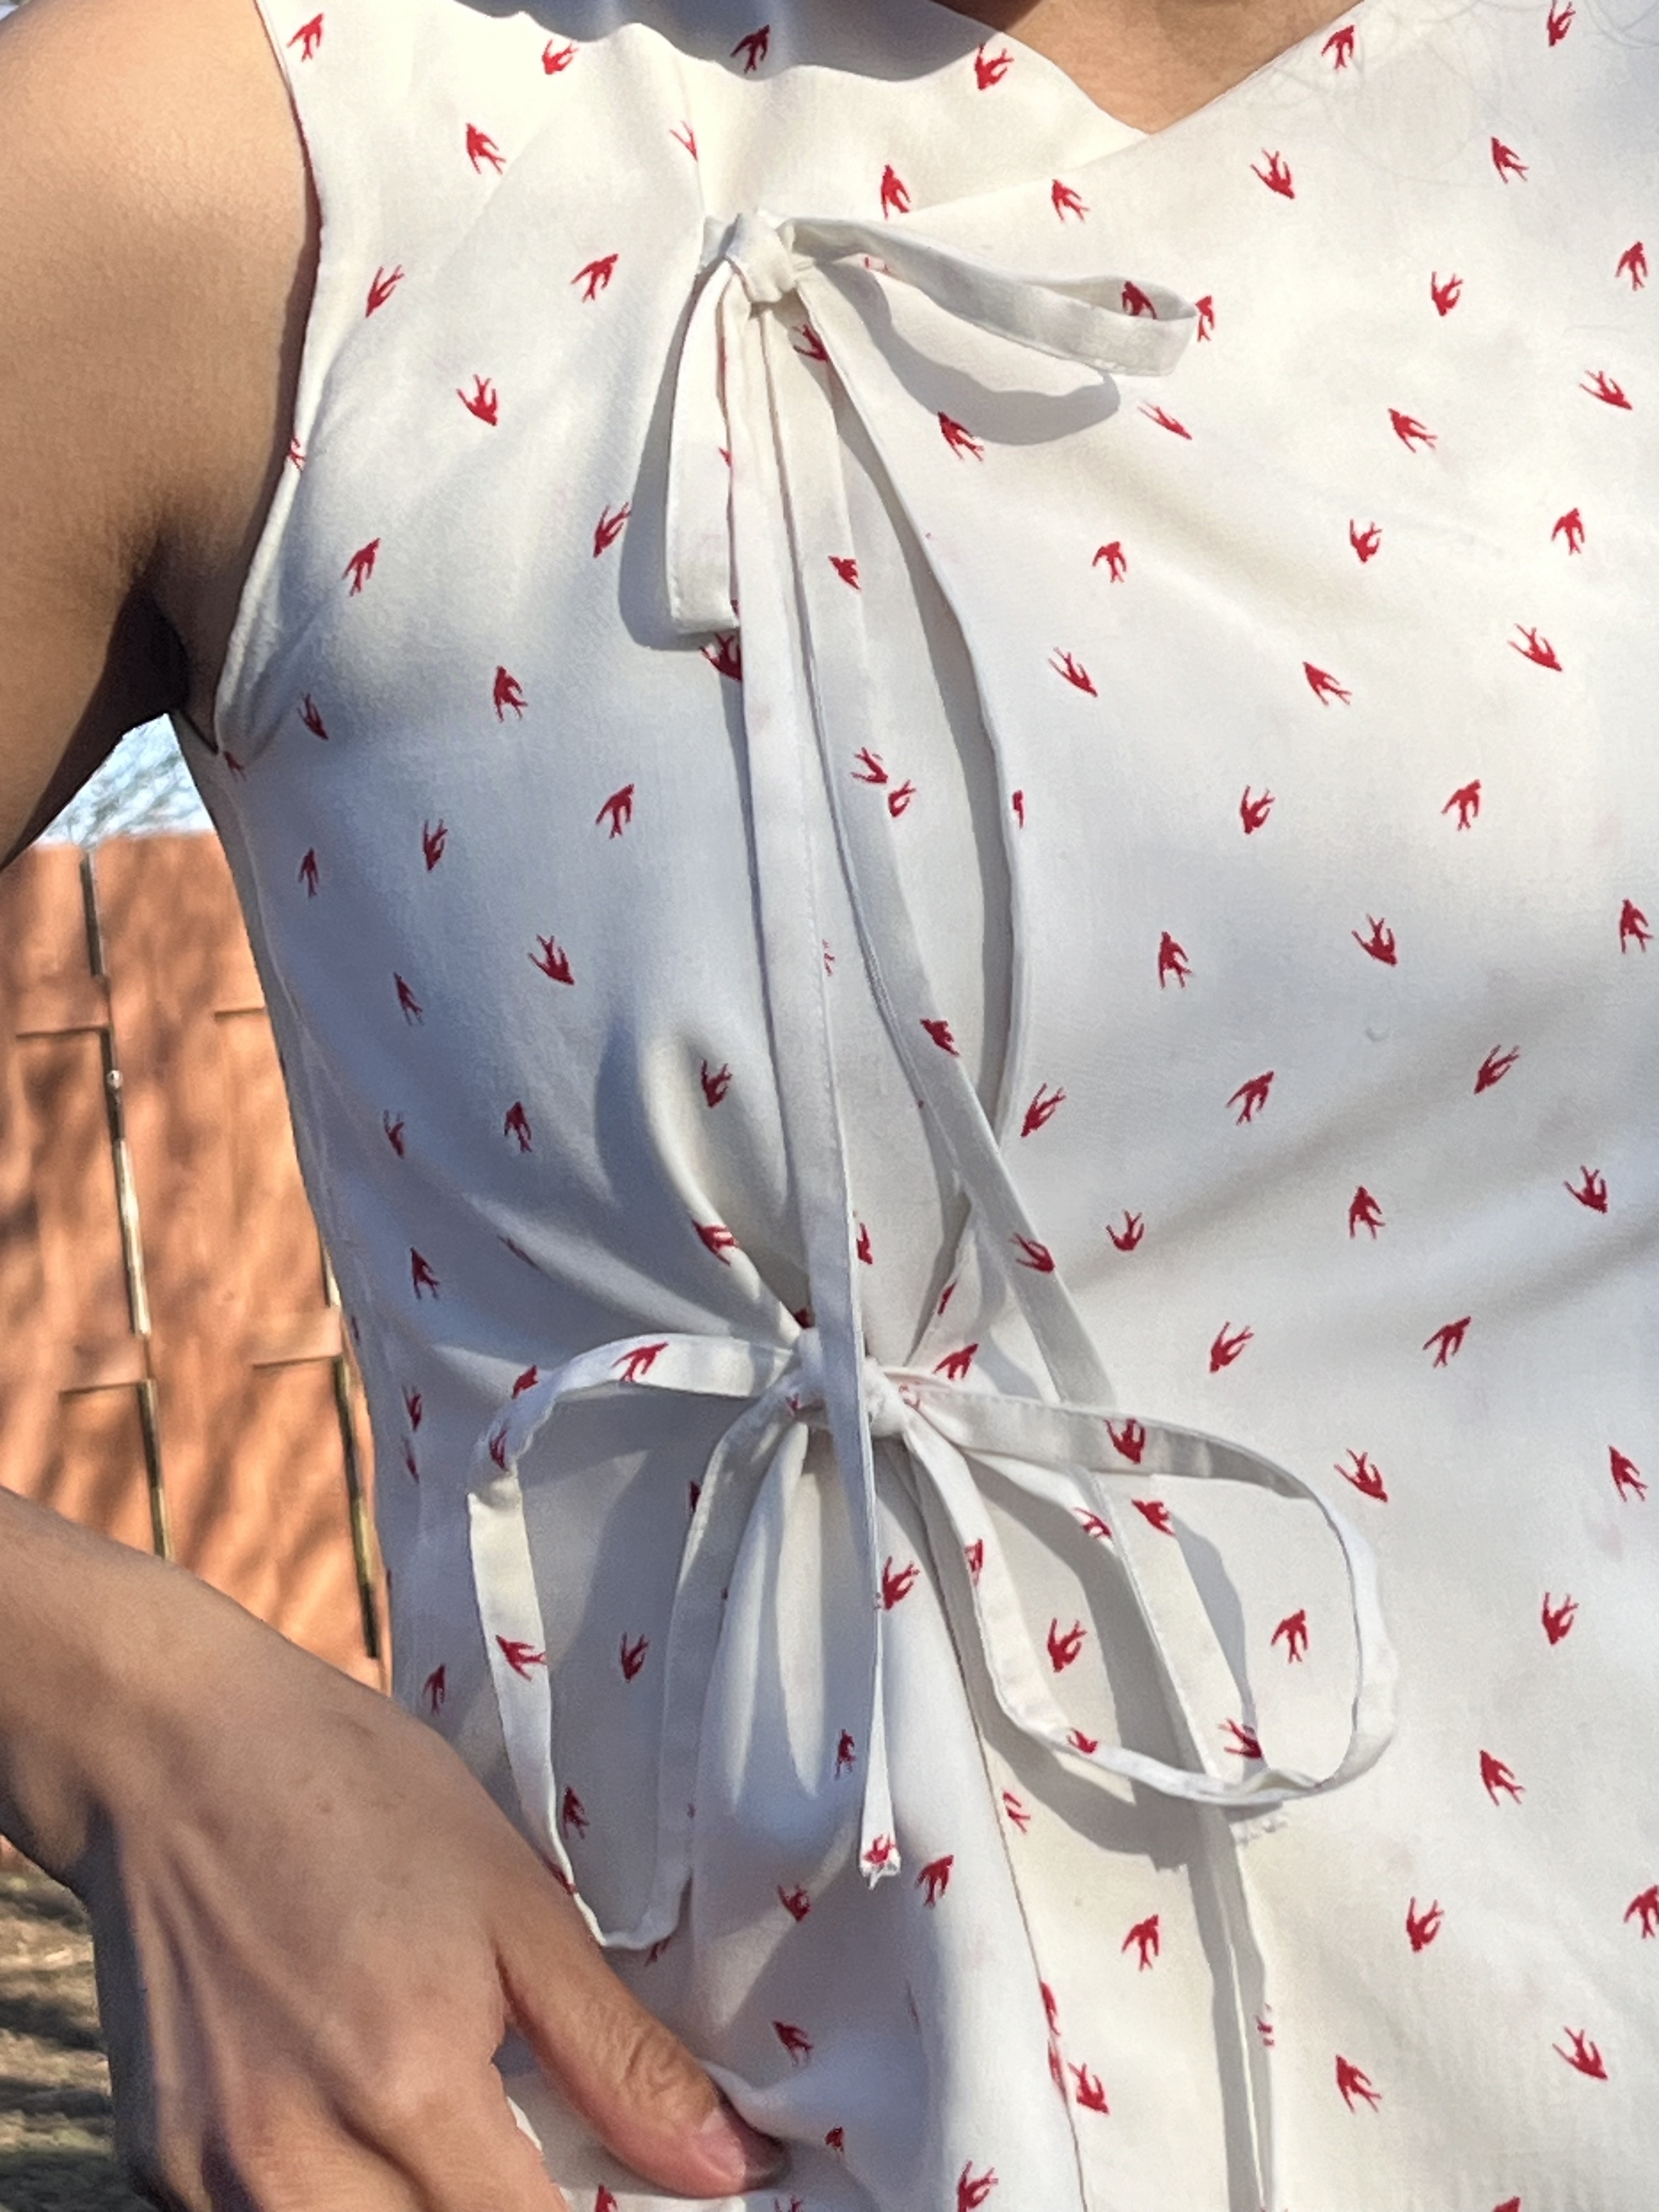
I knew this could become a fast project, and I had just listened to the ‘Love to Sew” podcast with Bernadette about her sewing journey where she primarily remakes historically accurate garments and does a lot of hand-sewing. So I decided to give myself the challenge to hand-sew the top. When it came to the side seams, I chose to machine stitch them because of how long they were and my need to finish projects as soon as possible was creeping in. Since the front panels were both self-lined, I didn’t need to worry of raw edges and it gave me the chance to encase and sew the strings to the front left panel. I simply sewed the remaining strings on top of the right panel inline with the other strings.
To ensure the right-side panel would not move around as I was wearing the top, I installed metal snaps; one at the corner of the right panel and the other on the lining of the left front panel where the right panel ends. Once this was completed all that remained was ensuring the side-seams and hem would not fray.
I tested the top and found that since I made the length longer, I needed to create a side vent to allow the top to open-up and prevent bunching at the hem around my low waist. I made the vent ~3 inches deep and sewed the seams. Everything was given a nice press and tried on it was.


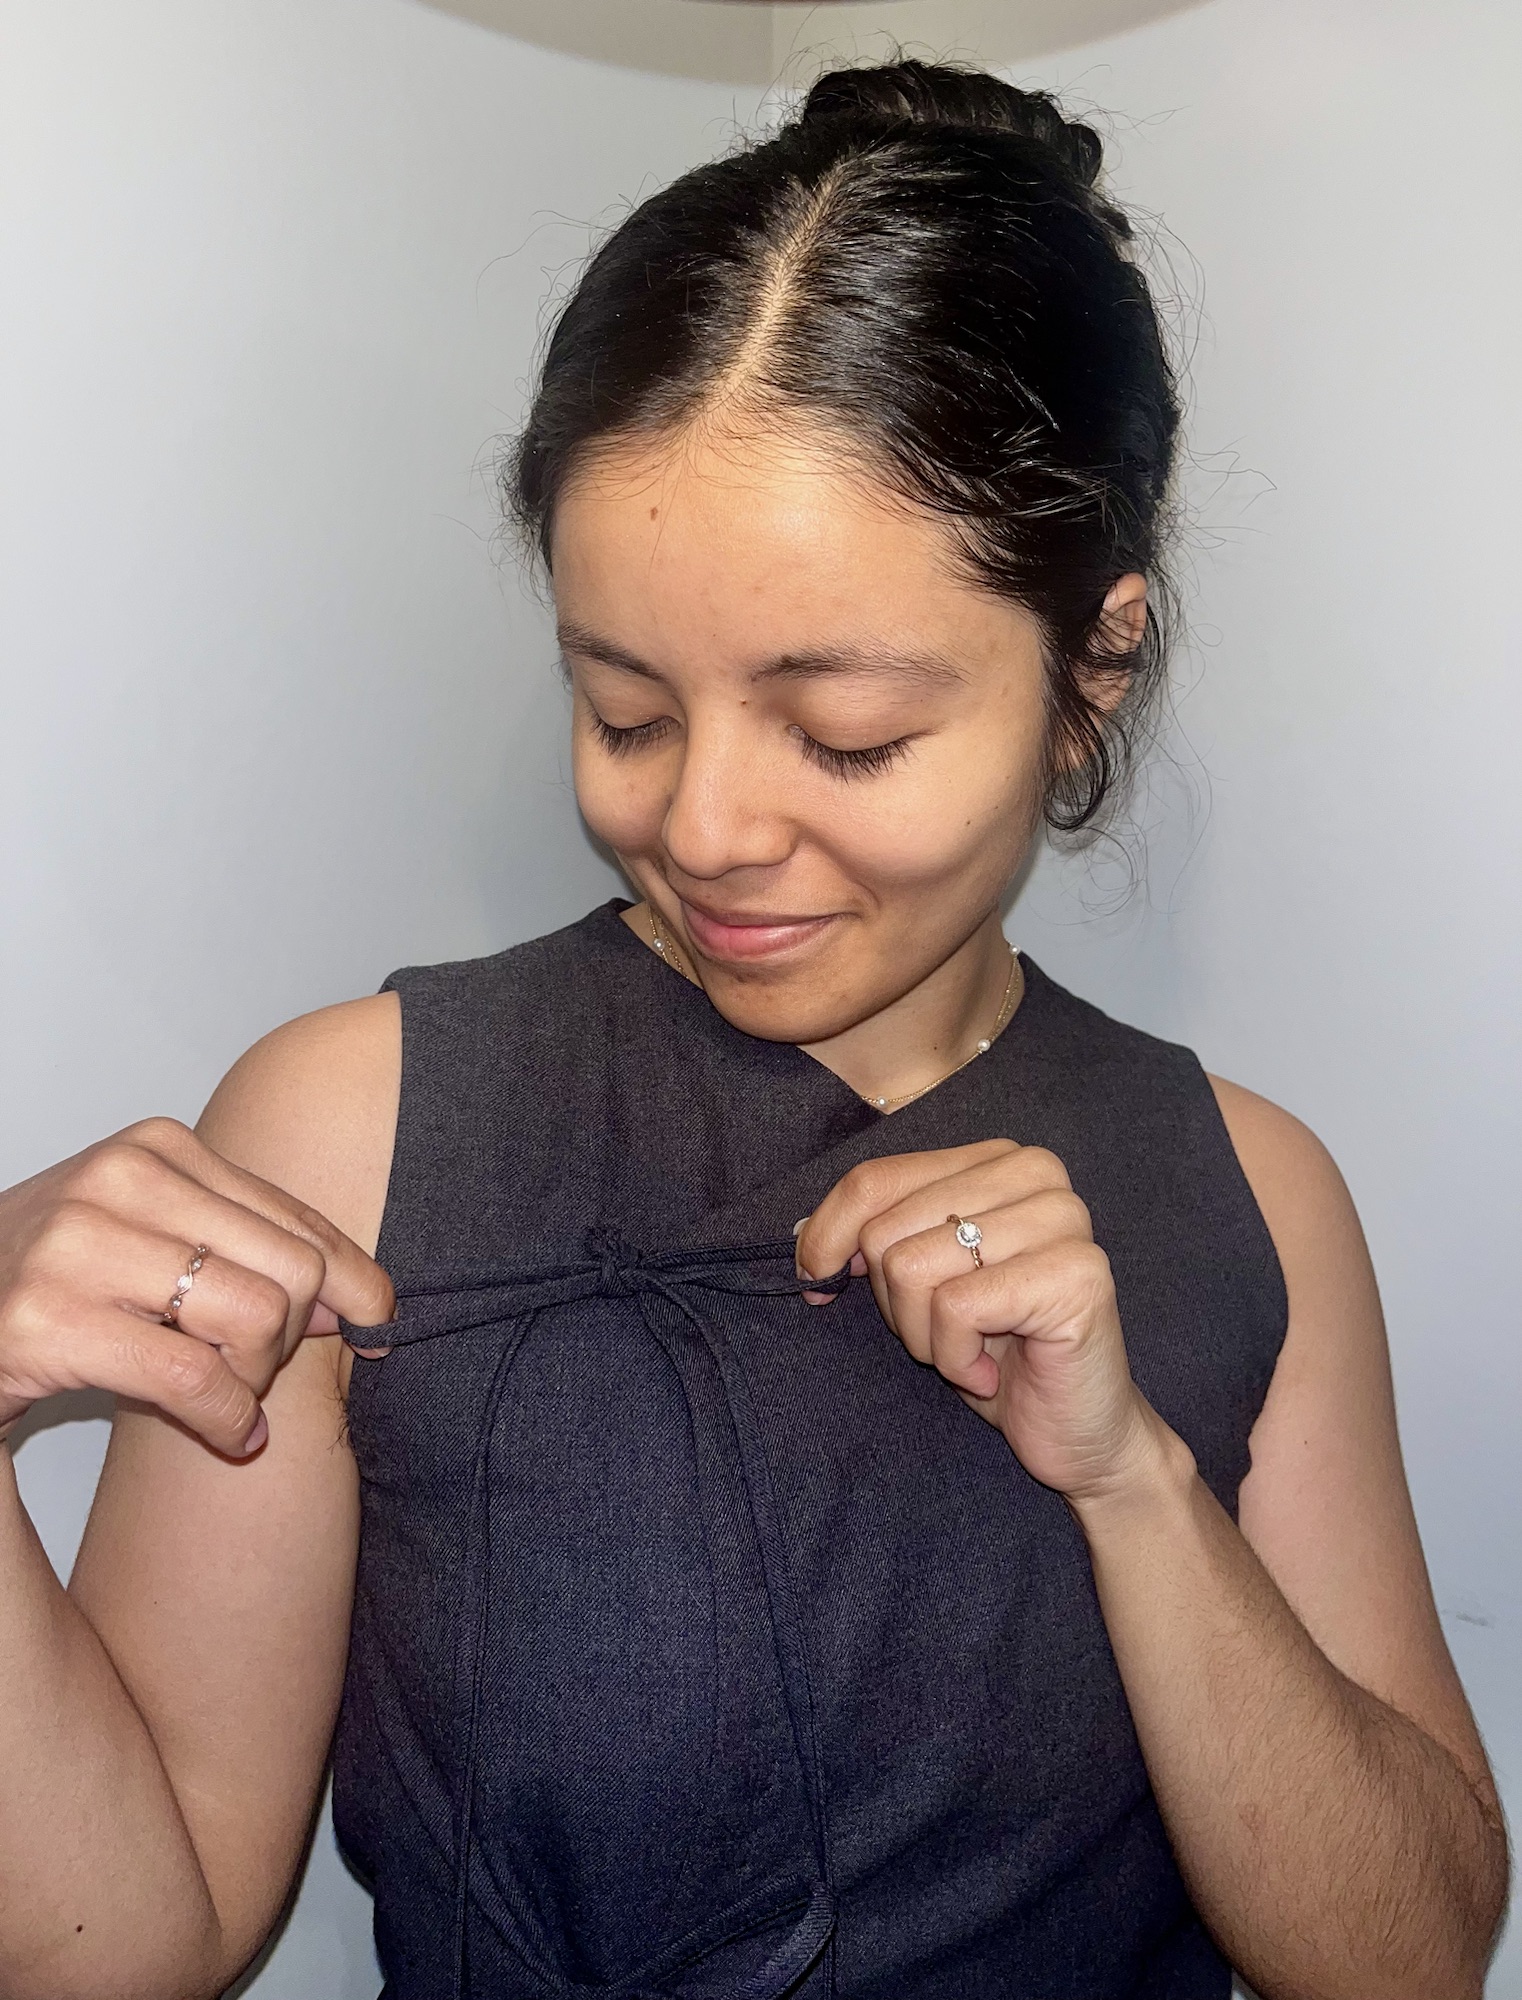
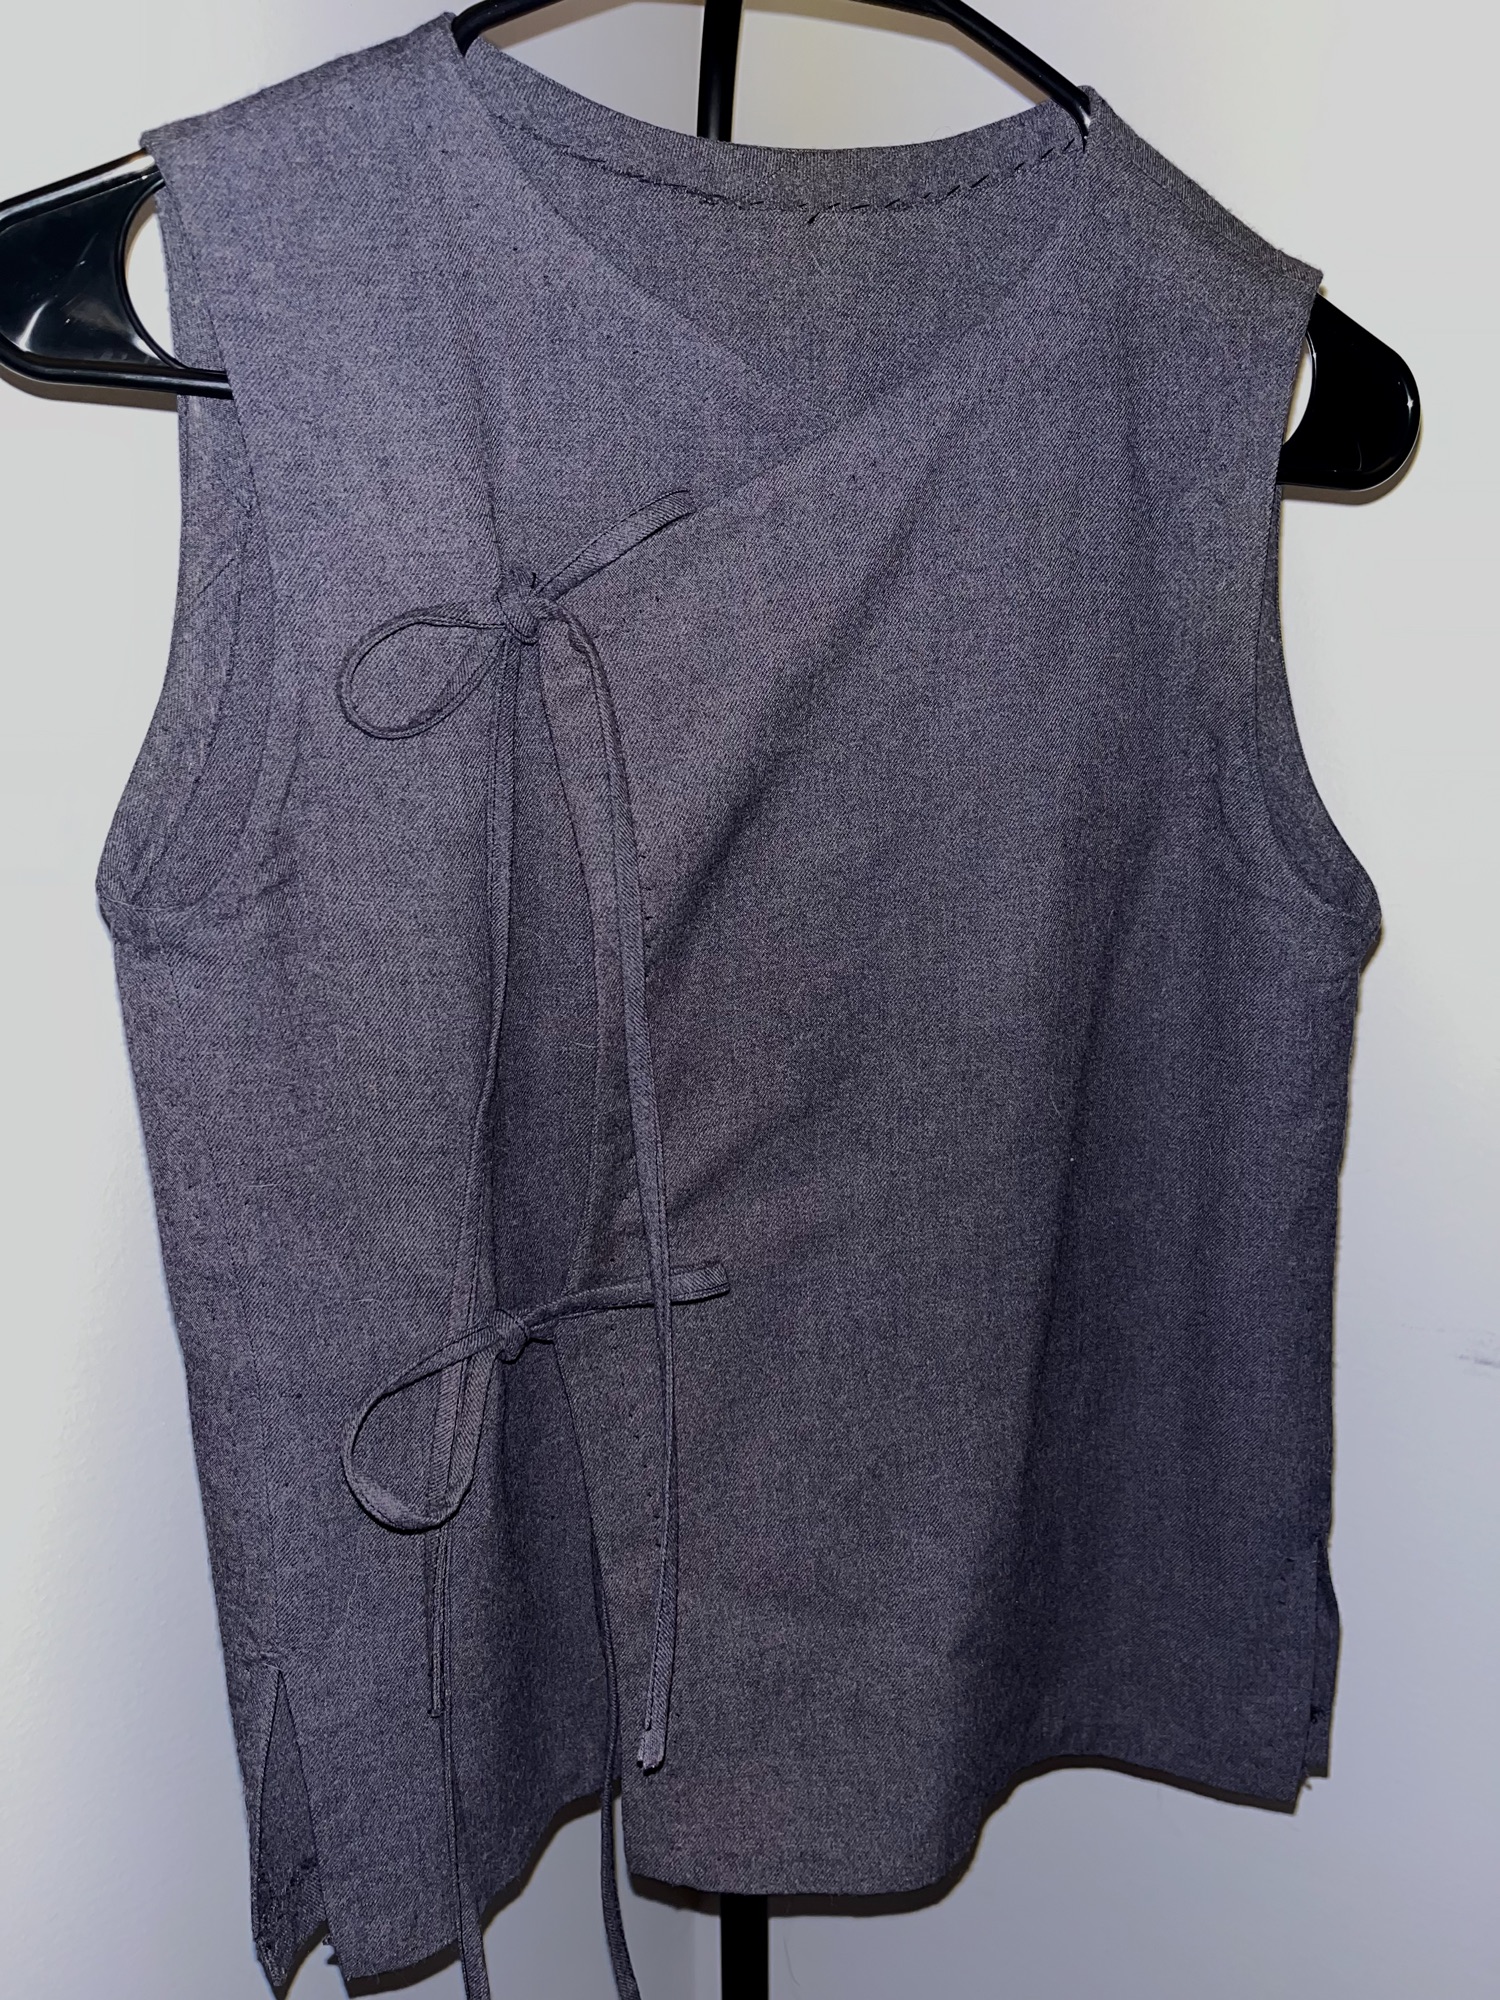
The Final Product
Overall the top came out better than I had imaged. I love the structure of the fabric and enjoy the softness that it offers. There are somethings that will be changed when I inevitably sew another version; increase the armscye to allow for less friction, and lastly sew bias tape around all raw seams before sewing any pieces together to ensure a clean finish
I thoroughly enjoyed sewing this top and I think i’ll continue creating different versions. Overall, I give this top a 5/5 pickles!!!


Leave a comment