My first make of 2024 (Whoop Whoop)!!
In 2023, I had this vision of blogging all my sewing makes…and as time passed by I would forget to document/photograph my makes and write them and then my motivation for sewing grew less and less.
Well this year I’m setting a personal goal (again) to sew an item a month and document it on this blog!! with the hopes that this will lessen the stress to make something as fast as possible and document it all.
So for January, I wanted to make something that I had either already made or would be simple that would get that sewing spark back in!
Since winter is upon us here in Kansas and we have encountered more snow and wind chills since the last time I was here, I knew I needed more office style pants and less hiking/ski pants. So I decided to re-create my black linen self-drafted trousers. Tragedy struck in 2023 when my linen trousers went into the dryer and came out inches shorter than they had been created…had to let them go since I didn’t have remnants of the original fabric.

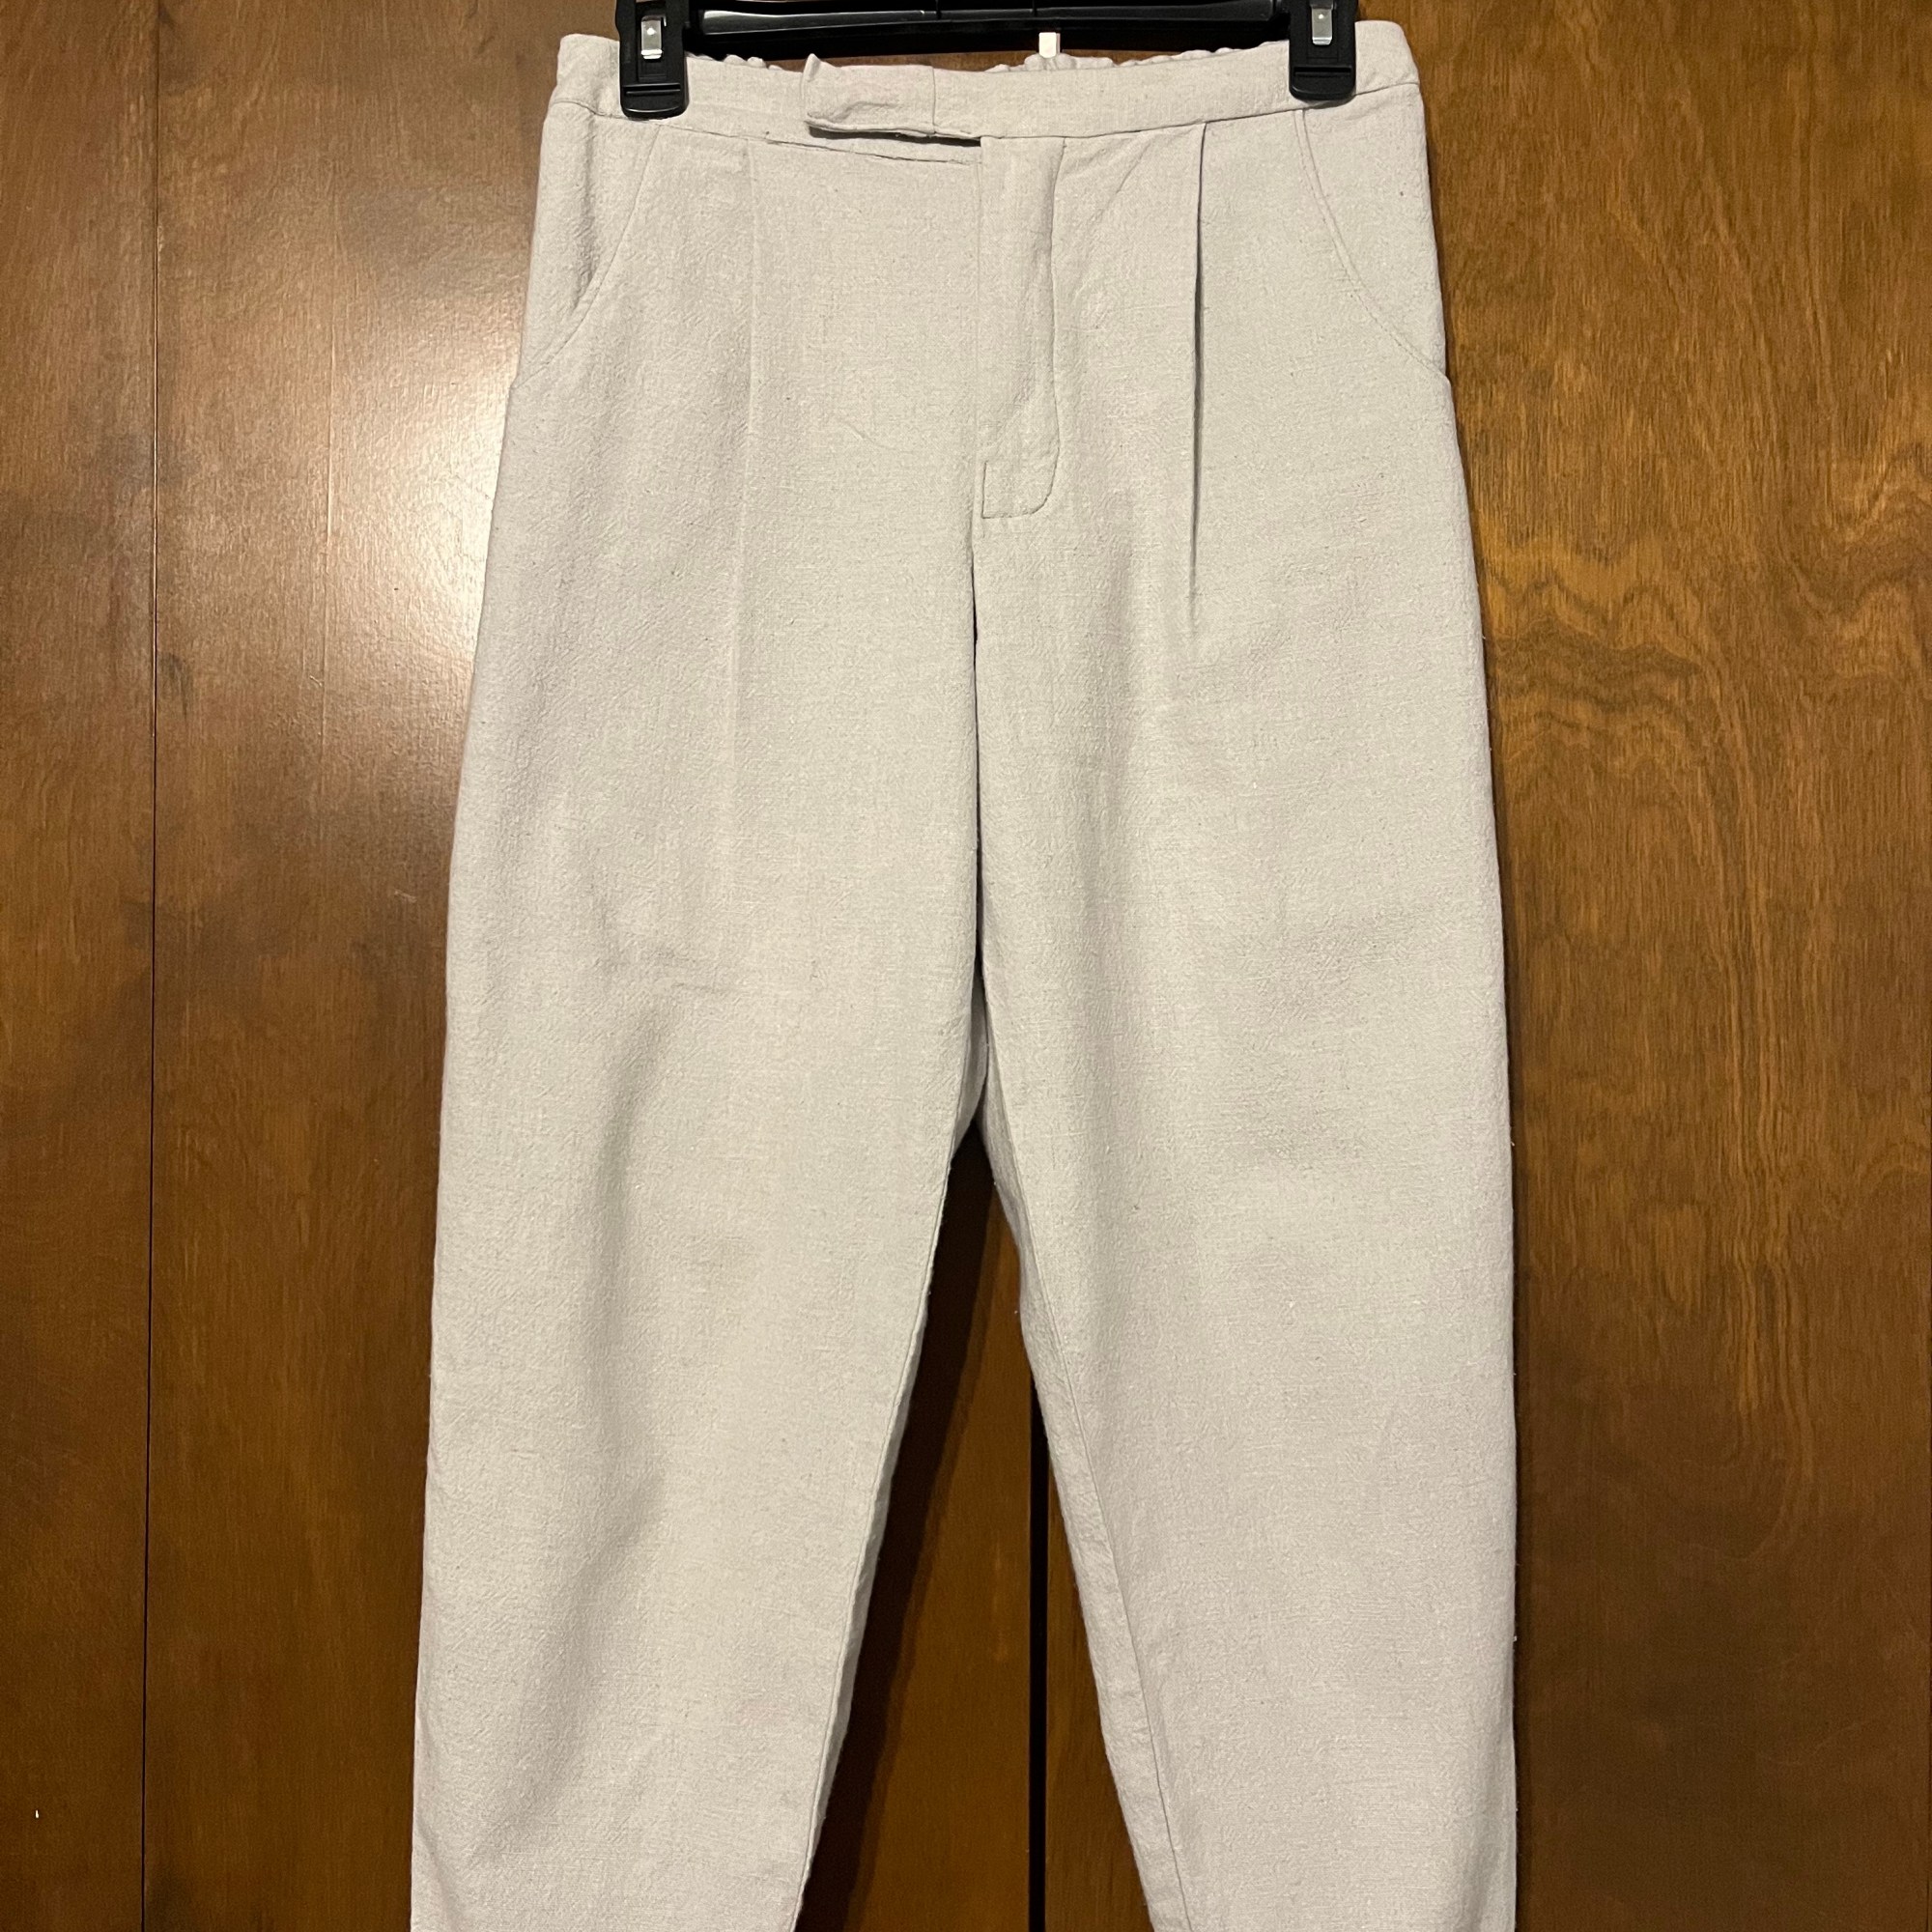
I was able to find this grey roll of fabric at my favorite thrift store. I am not sure how much it cost or how much yardage there was but I certainly was enough for a pair of pants.
The patter I used was “Yelmy’s Trouser Pattern” which I created using the Pleated Trousers instructions from the book “Patternmaking for Fashion Design: 5th edition” by Helen Joseph Armstrong, pg. 681.
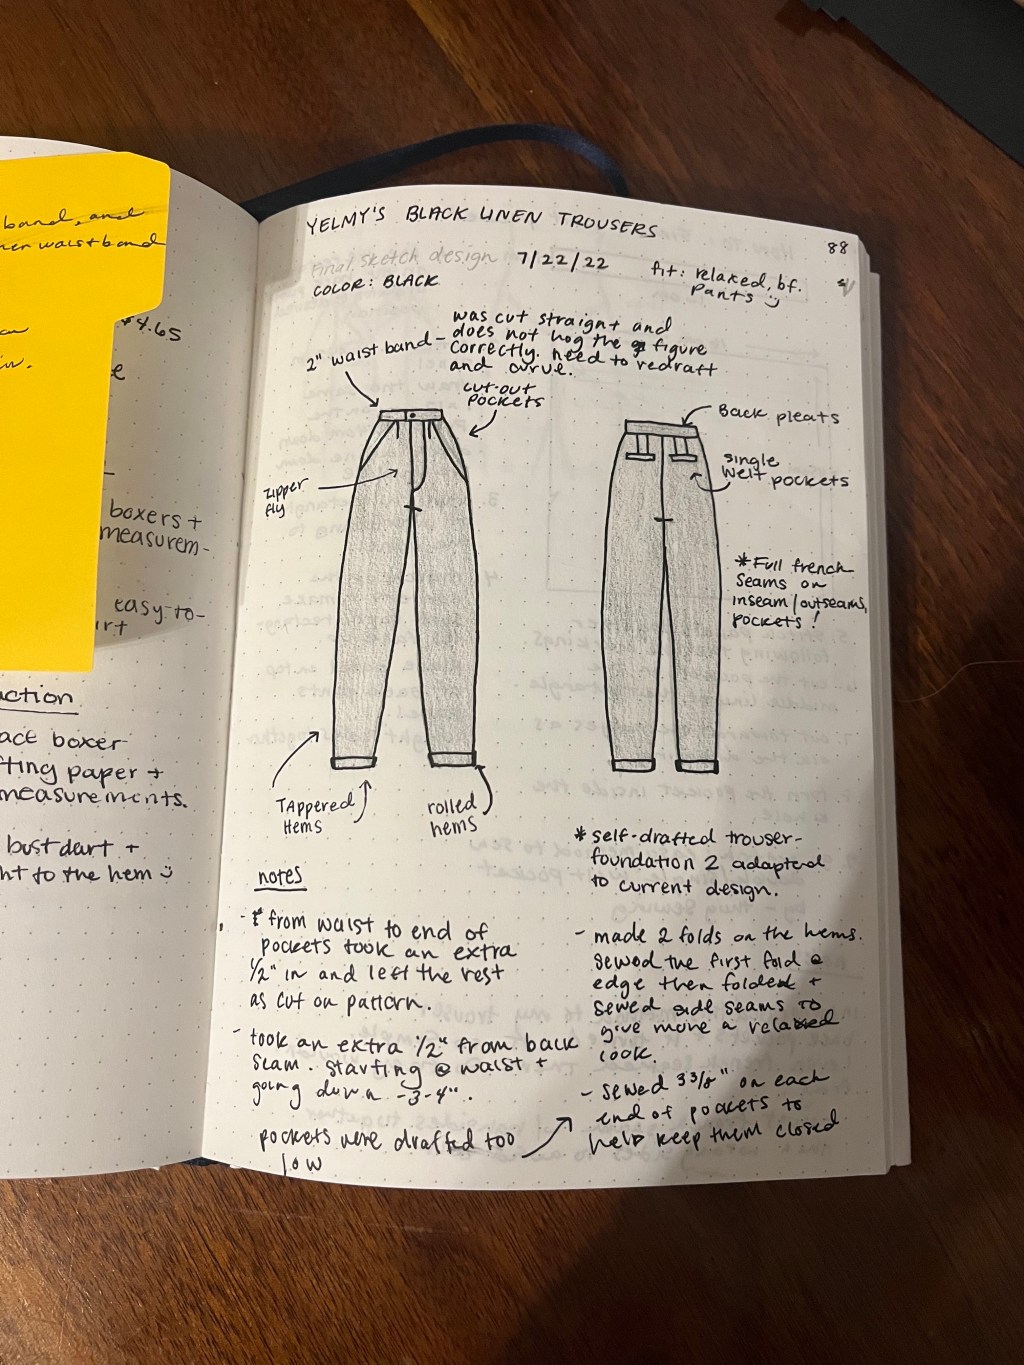
When I created the original pants, I added various notes to my journal on the edits I had made to the pattern/trouser and step by step details on the ‘single welt pocket’ I had added to the back. With this notes I was able to avoid some of the mistakes I had made on my first run and add other details that would make the grey trousers a bigger delight.

image of my journal notes
Based on the previous pair, I knew that the pockets needed to change since the original ones were far to open on the side and could essentially not hold much. I decided to use the pattern pieces from a pattern I purchased “Simplicity 1887”. The pockets offer a beautiful opening line and with some alterations they would be able to become deeper and hold more.

image of pocket alteration
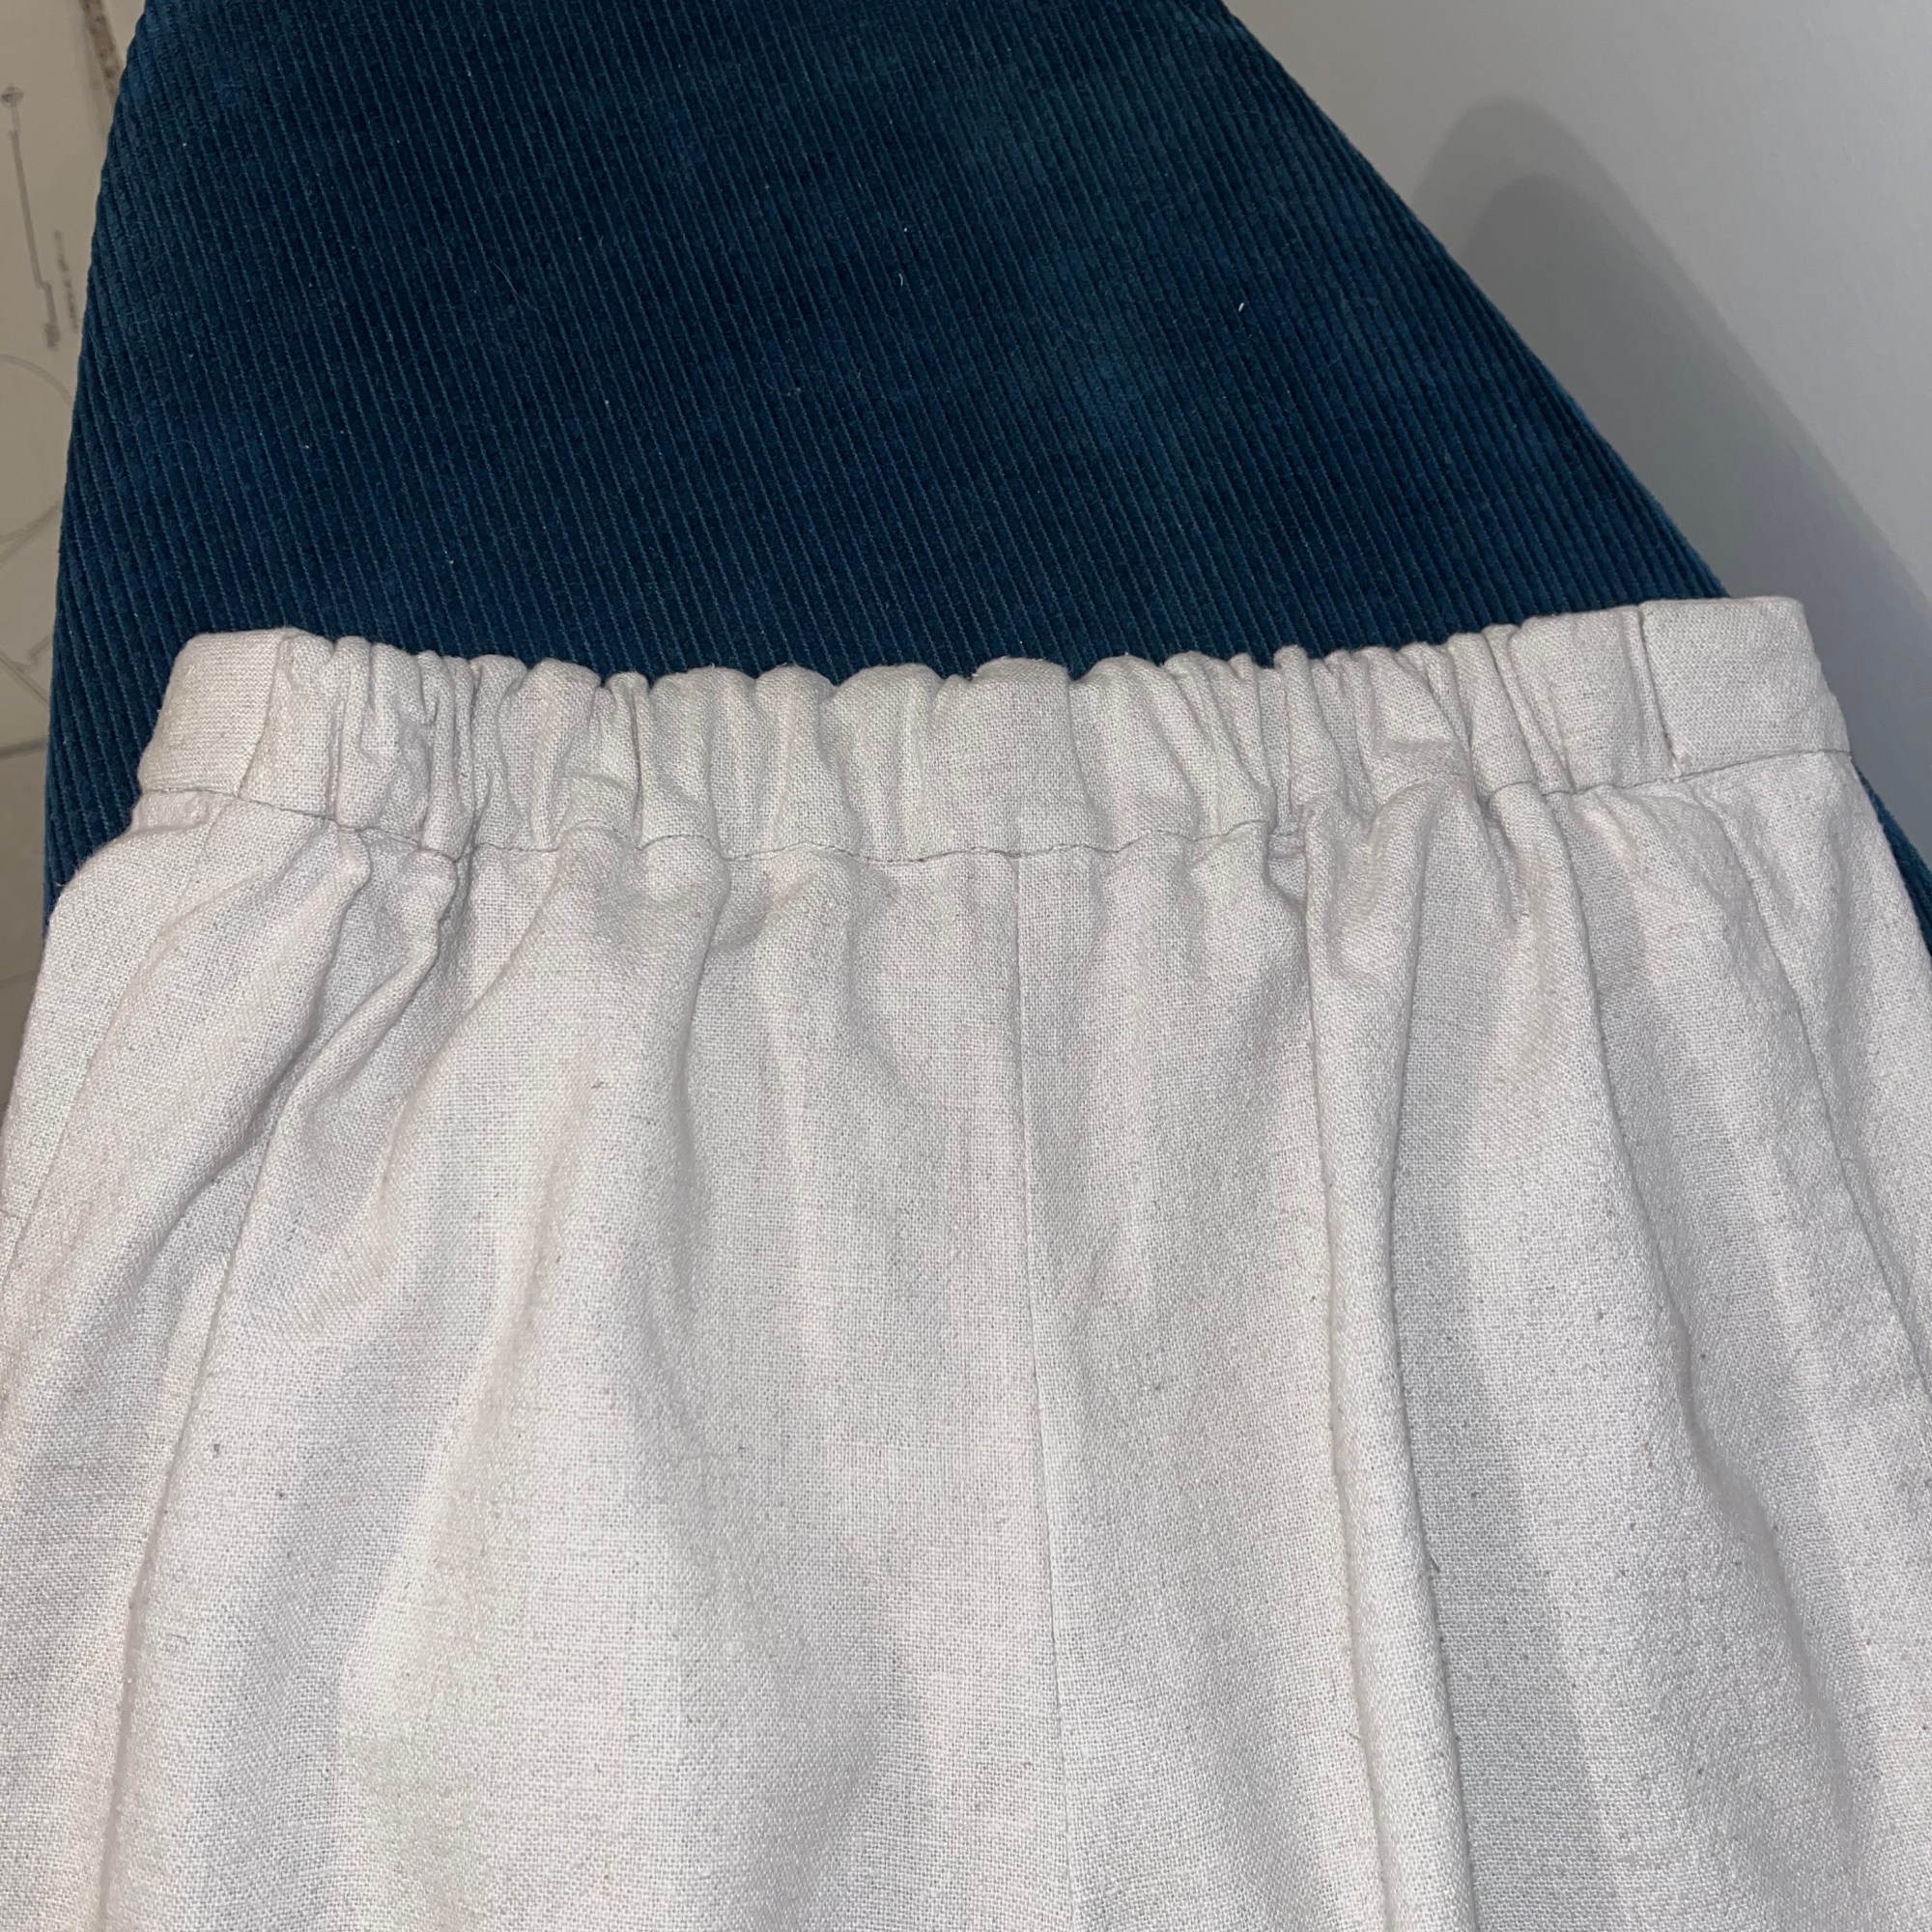
another alteration I chose to add was the waistband. There a many things I have not become a pro at and one of them is waistbands. So in order to avoid multiple alterations and seam ripping, I chose to incorporate a half elastic waistband. This turned out to be much simpler than the alternative and gives more comfortability for those uncomfortable days in life.
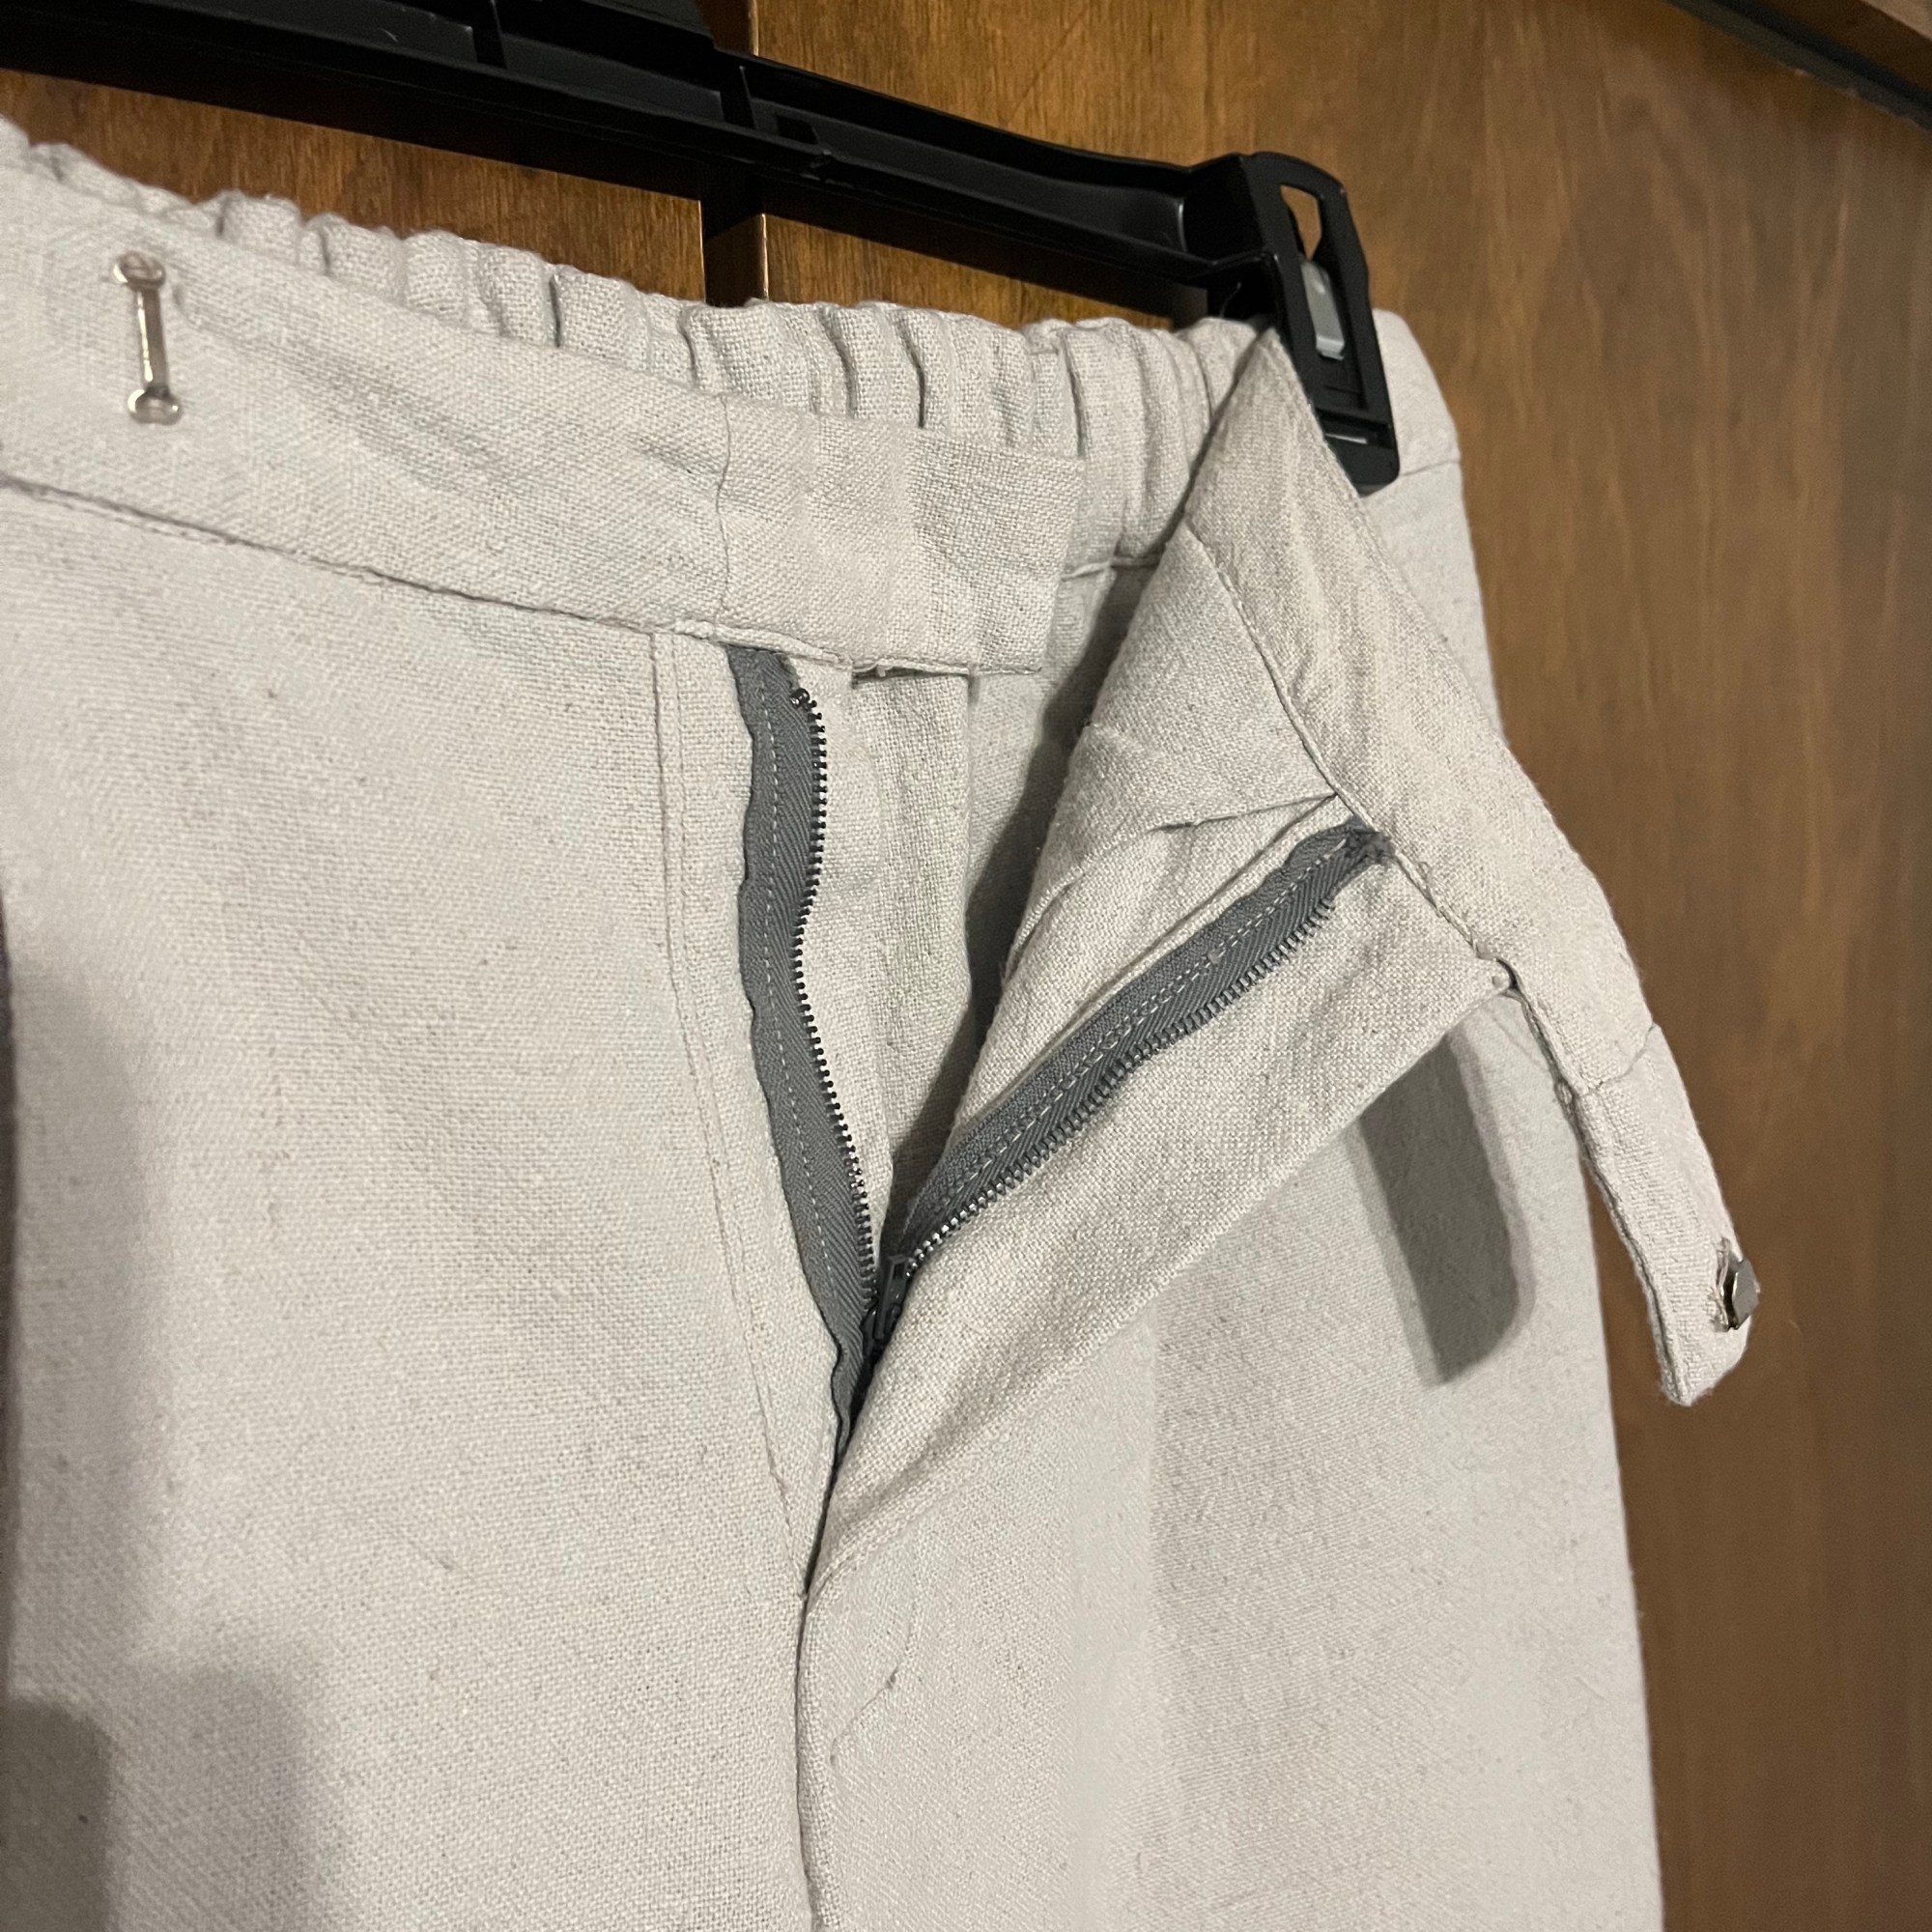
with all the said, I began cutting away at the fabric and moving on to sewing. I chose to begin with the front pieces and pockets, then move on to one of my challenges…the zipper. Once the zipper is in, I know everything will be smooth sailing until the waistband. Since the pants will be washed, I knew I needed to secure the seams from fraying. I chose the easy way out, given that it is my first project since my long hiatus and used my surger.
With every seam sewn and every seam pressed I was closer and closer to a finished project. because I tend to rush through projects, I chose to not add a single welt pocket to the back. Once I finished sewing the front and back pieces, I moved to the waistband.
Elastic is not something i’m super familiar with and the stash of elastic I currently own tends to come from thrift stores so its not always the most stretch resistant. For the waistband I chose to double the elastic to create enough strength and so I went.
The most difficult thing I faced was trying to close the waistband since I did not want the stitches to show on the outside. I took some time and handsewn a whip-stitch to close the waistband and from the right-side sew the waistband shut.
Last step was to help my pants, witch I did 2 folds of 1″. Then I was done!

Notes:
- 1-2″ to the center back of the pattern to accommodate for bending and sitting.
- use brand-new elastic of 1.5″ to avoid doubling and creating bulk

Leave a comment